News – by Shona Young
Nutscene - Original & Authentic Jute Products from the Field to the Factory
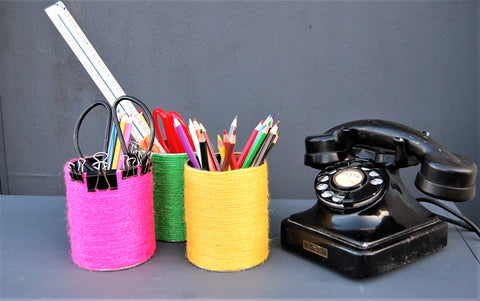
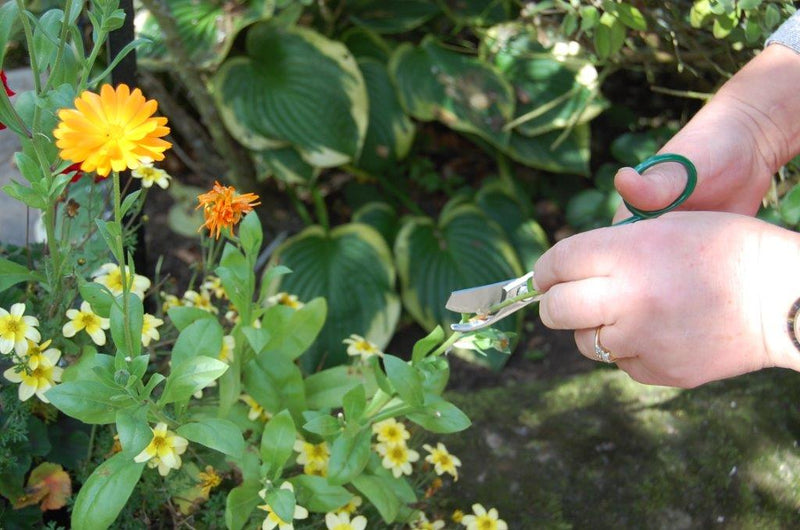
The Multi-purpose Twine that is the gardener's best friend!
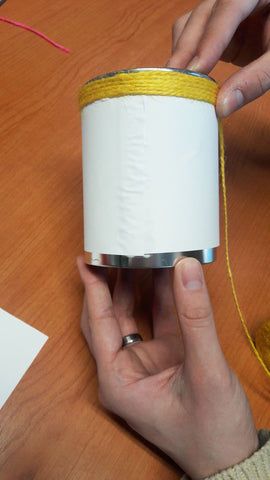
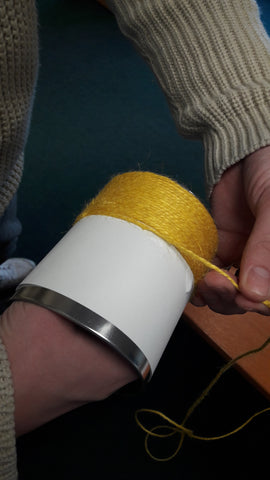
On the spool yet there's no wool...
Nutscene Twine - I'm sure if you follow us on Facebook, Twitter, Instagram or Pinterest you will have heard of us! For nearly 100 years we have manufactured the highest quality of garden twine, whilst always looking at the bigger picture and reinvesting into product development. After all, the world doesn't stay still, irrespective of the fact that we still use the same machinery used in 1922!
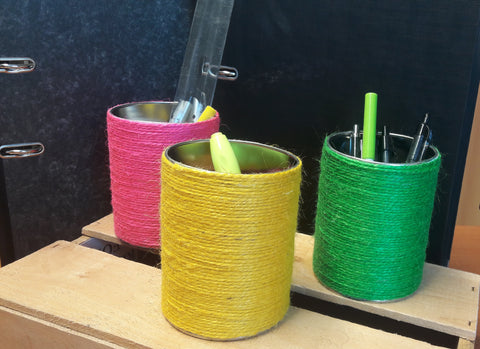
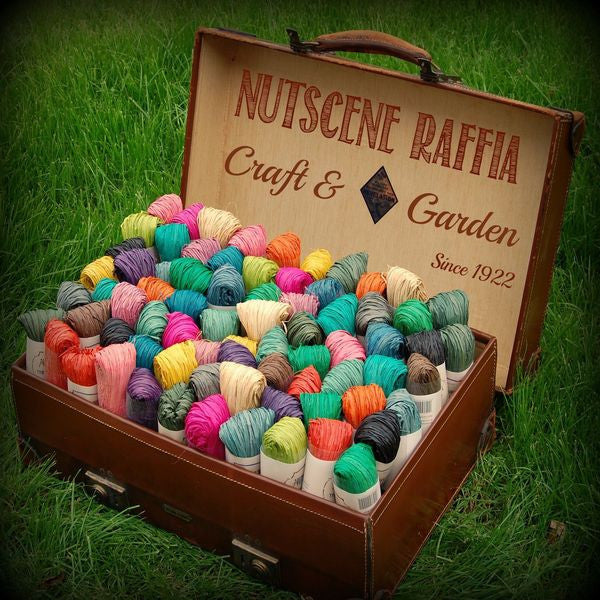
Nutscene are a company of first's. We have reinvented the twine industry over the years and we were the first to bring coloured twines to the market. We have introduced crafting twines, garden twines, baking twines and chunky twines. Furthermore, we continue to innovate our products to ensure the highest quality of user-experience for our clients - both trade and private. Innovations such as the Tin of Twine and the Reclaimed Mill Bobbin have changed the way the user interacts with the product and has ensured tangle-free convenience for gardeners across the nation.
Subsequently, a number of firms have attempted to emulate the Nutscene formula - attempting to put their own unique spin on our famous twines, but all have failed to stand the test of time and quality like Nutscene have, and somewhat ended up in a spin themselves! To this day, Nutscene continue to push forward, breaking boundaries! As we say... often copied, never equalled!
Our twines are world famous. We currently export to over 23 countries and we can proudly say that our product is both sustainable and vegan friendly. Yes - no wool or synthetics used here! The sheep can keep their coats! With more and more of us conscious about the welfare of animals, Nutscene can genuinely say that no animals are exploited nor used within the manufacturing process of our twines. It all comes from a rather special plant - JUTE! From plants for plants...
The Jute Plant that we use is harvested in Bangladesh and we import the yarn and reprocess it to our own unique specifications. Jute is responsible for a significant portion of the Bangladeshi economy; Bangladesh is the largest exporter of raw jute in the world and the nation also provides the highest quality jute too! The mill that we are in partnership with employs around 5,000 people and they are continually praised nationally for their efforts in CSR (Corporate Social Responsibility), winning numerous awards regarding exportation and how their employees are treated and cared for. It is for these ethical beliefs that our partnership with this firm continues to blossom.
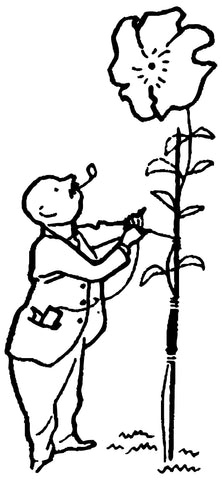
Raw jute is a plant that grows at a rapid pace. There literally is no better product on the market to safely tie back your stems. There will be no contamination, bruising or damage to your plants with Nutscene twines. Soft, strong and lives fairly long - there is no substitute. That is our promise!
Everyone these days talks about sustainability when describing their products, but few actually give reference as to how they are sustainable. Its almost become a buzz term whereby business owners feel they can exploit their clientele by talking about how they have addressed their ethical concerns. For example, animal products such as wool may appear sustainable, but the use of this in products is to the detriment and exploitation of the animal. Further research revealed that as the sheep get older, they produce less and less wool and are subsequently likely to be sent to the slaughter at a younger age. All this so we can profit from the natural resource of the sheep? Doesn't seem fair... That is just one example - we are not saying that all sheep are treated in such a manner but what we are trying to say is that Nutscene products are friendly for vegans and those who feel strongly about animal welfare. By all means, excess wools should be utilised to provide clothing etc, but at the same time, animals should not be treated unfairly purely for human gain.
Nutscene are proud to disclose that the jute plant takes around 120 days to harvest after sowing. 120 days from being placed in the ground to harvest... wow! Now for a plant, that is lightening quick, especially if we consider the strength that the plant grows to in such a small space of time!
Jute is a natural resource and is available in Bangladesh all year round, growing especially fast during the monsoon season due to the increased rainfall. The Ganges River Delta is at the centre of jute production and it is here where 'the golden fibre' thrives, largely due to the perfect growing conditions for the plant.
Additionally, by choosing to import raw jute, Nutscene contribute to the UK economy in the form of import taxation. This tax is fed back into the economy and is why the government encourage the importation/exportation of goods. Nutscene have been praised in their efforts in global trade, and we pledge to continue to venture further and further afield! After-all, how long is a piece of string...!? As long as you want it to be.
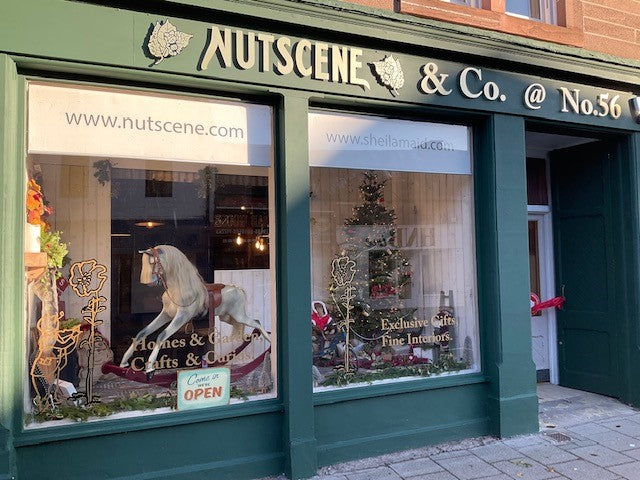
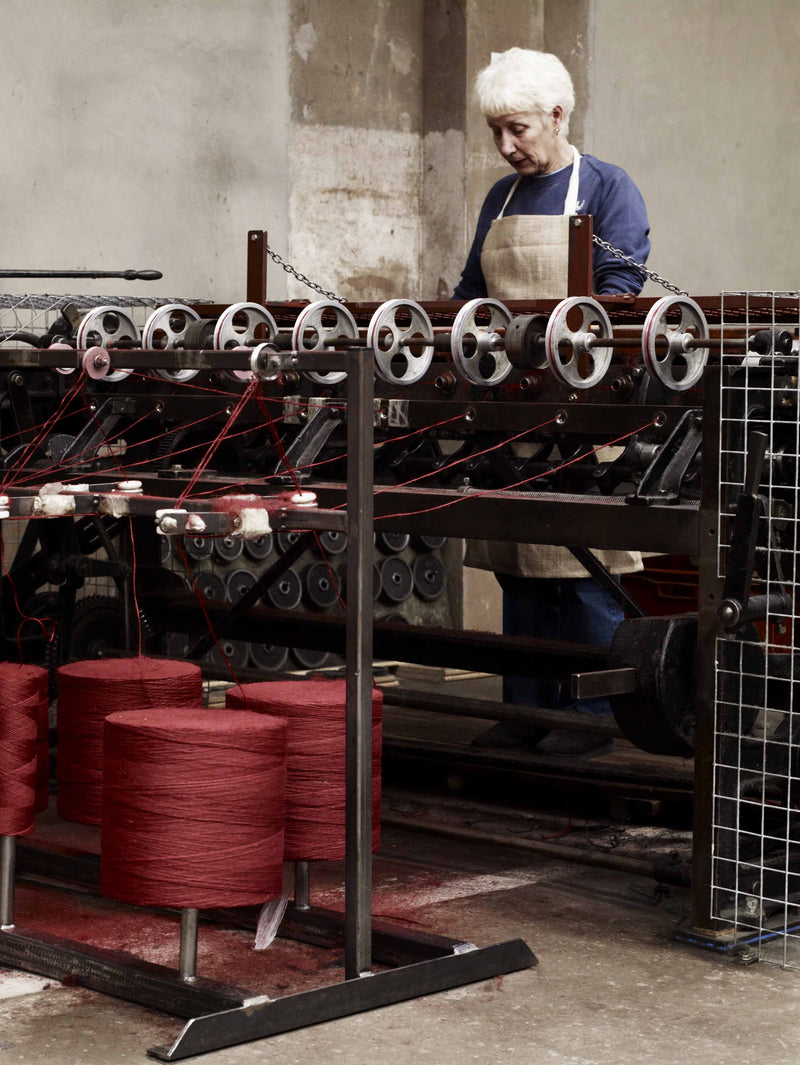
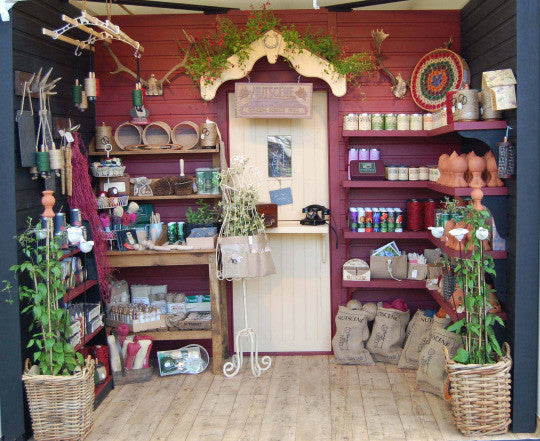
Right - enough of the formalities as what we here at Nutscene have, is a product steeped in history. The story of our brand dates back to 1922 when we patented the original Nutscene greentwist twine, somewhat the crown jewel of our quickly growing archive. At that stage, Nutscene were based in Dundee, a city renowned as the home of 'jute, jam and journalism', but have since changed location to Forfar, a short ways up the A90. From here, we operate a medium sized factory and employ a local workforce that specialise in the reprocessing of the jute that we import. We employ 12 people who perform various duties within the factory and offices - from manufacturing to marketing, the whole team is involved in and plays a pivotal role in the legacy of a proud and prestigious company. From the field to the factory if you will!
Its all the more impressive if you consider twine as an unlikely spin-off from the famous juteopolis movement in Dundee. Its quite incredible that the founders had the foresight to establish a business based on garden string, yet the business has since gone from strength to strength! Our ties to the Great British manufacturing industry are stronger than ever, especially as many skills are lost due to the emergence of new machinery and industrial technology. Nutscene continue to manufacture quality twines the original way, passing on skills that would otherwise be lost in the midst of time, all the wile ensuring that our products are priced fairly within the market. After all, we actually care about the welfare of the environment!
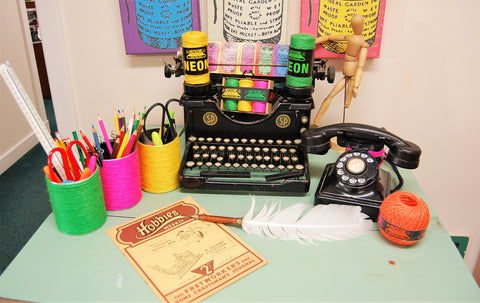
The Future? So what shall it bring? If we go back 100 years and asked what the future would bring I think we would get a very different answer! Our twine products have been used in a variety of projects - from fashion to parcel packaging. Our product has also been utilised by 2017 New Gen award winner Nicholas Daley. Nicholas was so taken by Dundee's jute industry, that he created his own fashion range - The Juteopolis collection, as part of his fashion label. This range has been critically acclaimed and has since been at the forefront of the London fashion scene. It bears special relevance to Nicholas due to family ties within the Dundee area.
Nonetheless, in order to move forwards, sometimes it's necessary to have a glance in the rear-view. Nutscene are the last remaining jute processing company that was born in Dundee. We truly are the innovators and curators of twine. With our centenary on the horizon, there is no doubt that there soon will be a celebration of all things twine, but in the meantime, we will continue to travel the globe, spreading the word of the famous old Nutscene twine. Some things change - some things don't. The quality of our product is one of those and it will never be compromised. We pledge to continue on as guardians of the slender stems.